Zero to Blog: A Lazy Engineer's Guide to Automating Web Presence
A humorous yet detailed guide on building a seamless blogging workflow using Hugo, GitHub, Netlify, and GoDaddy subdomains, the lazy engineer's way.
If you’re a lazy 10x engineer like me, you’ll appreciate the art of doing less while achieving more. Setting up a blog? Sounds like manual work—ew. Instead, I automated the entire process with a CI/CD pipeline using Hugo, GitHub, Netlify, and a custom subdomain via GoDaddy.
Here’s how I transformed my blog into a professional, self-updating masterpiece.
The Outcome
- Automated deployment: Push to GitHub, and Netlify does the rest.
- Customized blog theme: No cookie-cutter themes here.
- Custom subdomain: Because
blog.vedant.cloudscreams professionalism. - Zero manual effort: The ultimate lazy 10x engineer flex.
Step 1: Install Hugo (Fast, because who has time?)
First things first, I needed Hugo—a static site generator. On macOS, I installed it with a single command using Homebrew:
brew install hugo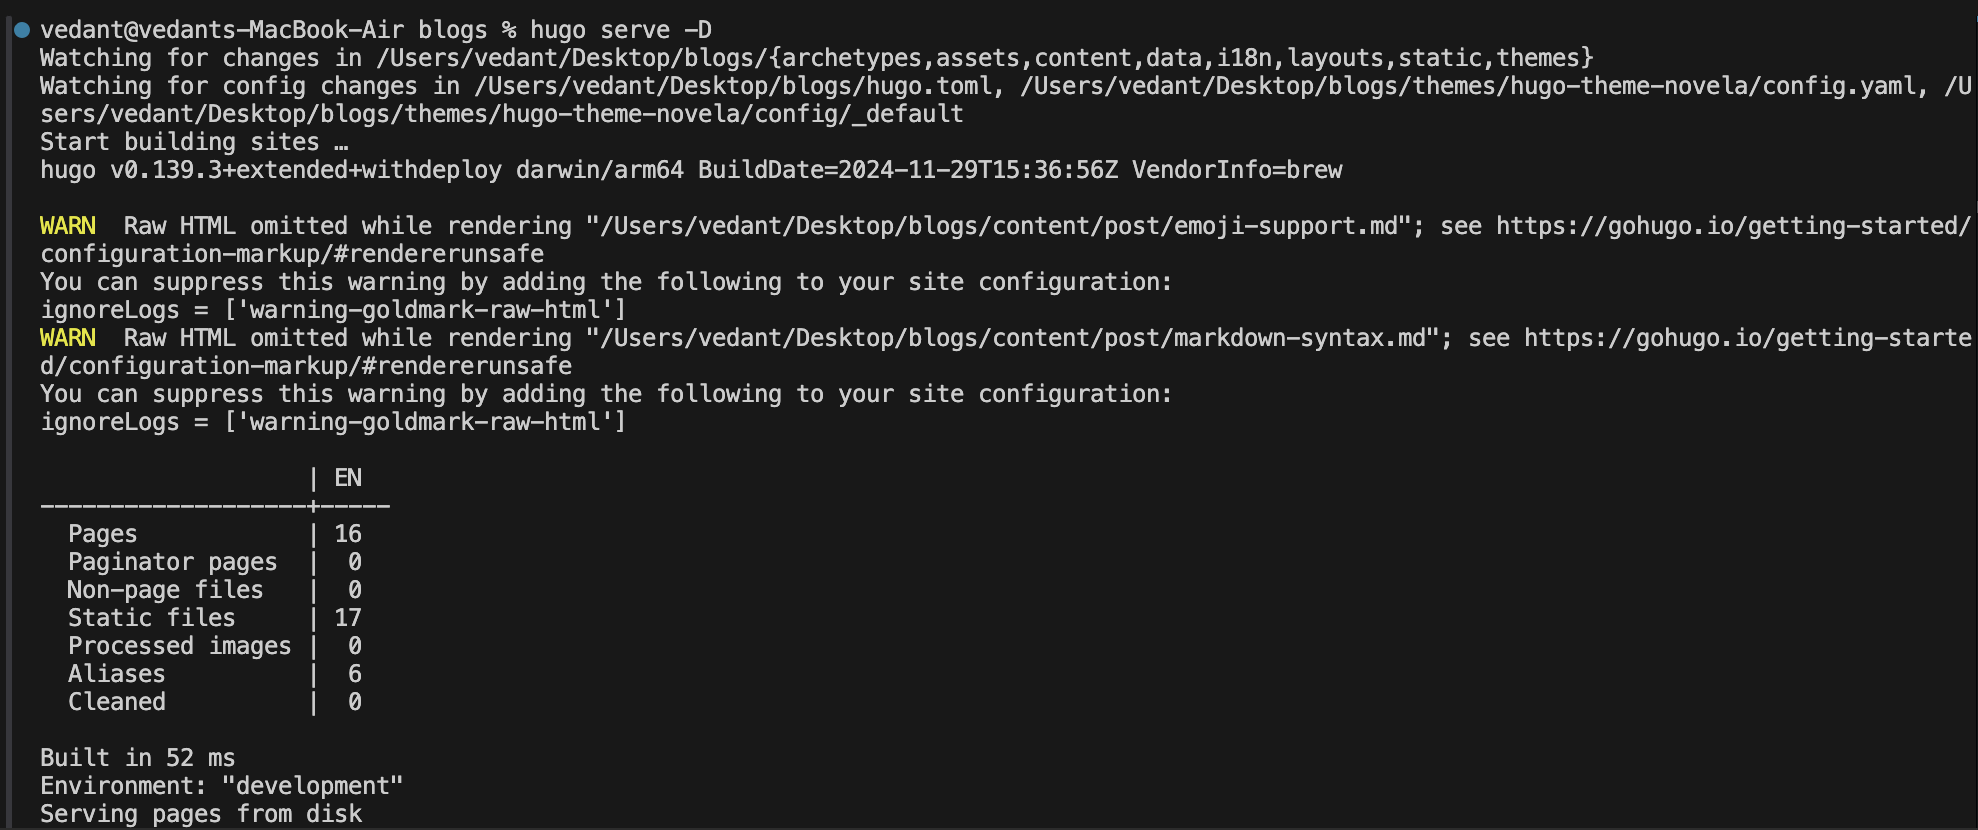
I confirmed Hugo was ready to go with:
hugo versionIn less than a minute, I was one step closer to lazy engineer greatness.
Step 2: Set Up the Blog
With Hugo installed, I created a new project. All it took was one command:
hugo new site blogsThis gave me a bare-bones structure for my blog. Next, I grabbed a theme. Using git submodule, I added the theme directly to my repository:
Example: Adding and Using a Blog Theme
I chose the Ananke theme for this example, as it’s a popular choice for Hugo beginners. Here’s how I added it:
git submodule add https://github.com/theNewDynamic/gohugo-theme-ananke.git themes/anankeNext, I updated my config.toml file to use the theme:
baseURL = "https://blog.vedant.cloud"
languageCode = "en-us"
title = "My Awesome Blog"
theme = "ananke"
Then, I added a new post to see the theme in action:
hugo new posts/first-post.mdI populated the content/posts/first-post.md file with some text and previewed the site locally:
hugo serve -DThe theme was live, and my blog was starting to look professional.
Step 3: Customize the Blog Theme
Default themes are great—for someone else. I needed custom everything. So, I rolled up my sleeves and customized layouts, colors, and components to align with my 10x vision. The end result? A unique theme tailored to perfection.
Step 4: CI/CD with GitHub and Netlify
The lazy engineer’s dream: push, deploy, relax.
GitHub Setup
I initialized a Git repository for version control, added all files, and pushed my blog code:
git init
git add .  # Add ALL files in the current directory
git commit -m "Initial commit"
git push origin main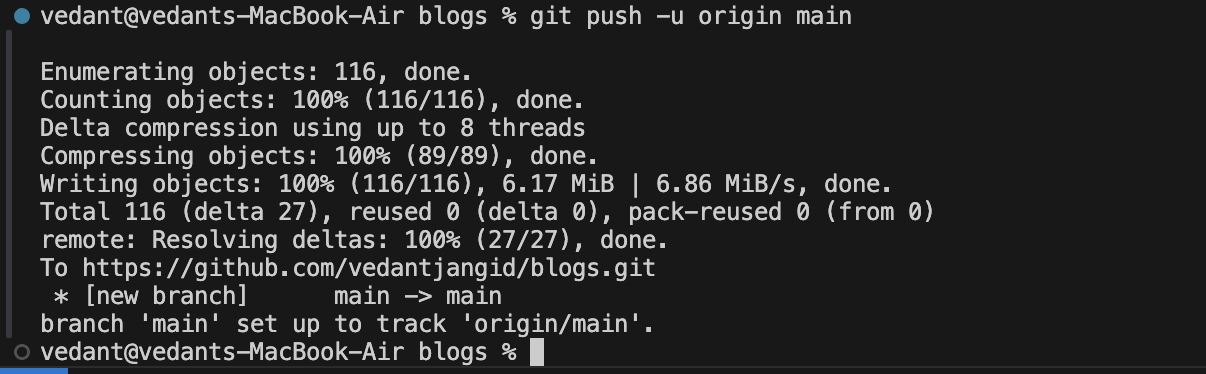
Netlify Setup
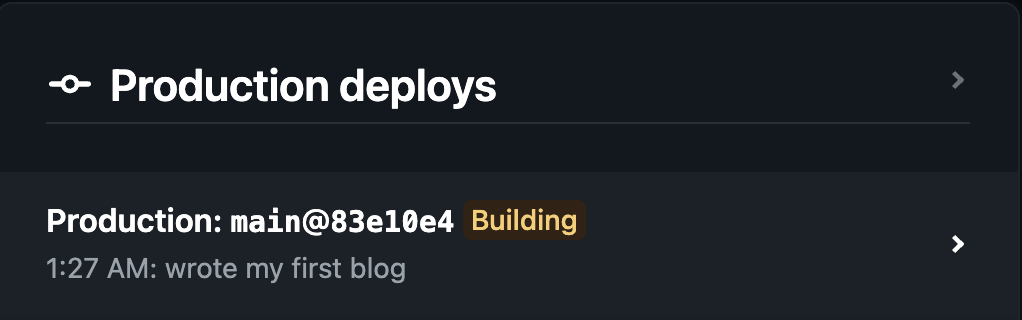
I connected my GitHub repo to Netlify, defined the build command (hugo), and specified the output directory (public). Netlify now automatically builds and deploys my site every time I push changes.
Step 5: Add a Custom Subdomain
Because blog.vedant.cloud > any default Netlify URL.
Using GoDaddy, I set up a CNAME record to point my subdomain to Netlify:
CNAME Record:
blog.vedant.cloud -> <your-netlify-site-name>.netlify.app
Within minutes, my blog had a custom subdomain, making it as professional as it was automated.
Step 6: Test, Push, Done
I tested my pipeline with the following commands:
- Preview locally:
hugo serve -D - Commit changes:
git add . && git commit -m "Added content" - Push to GitHub:
git push origin main
Netlify picked up the changes and deployed them in seconds. Voila! Automation at its finest.
Links
- My Blog: blog.vedant.cloud
- My GitHub: github.com/vedantjangid
- Netlify Hosting: netlify.com
Final Thoughts
This setup epitomizes the lazy 10x engineer philosophy: automate everything, invest the least amount of effort, and get the best possible results. With Hugo, GitHub, Netlify, and GoDaddy, my blog now runs itself.
What’s next for this lazy engineer? Probably crafting a blog on setting up a full-fledged streaming setup using self-hosted tools for the ultimate entertainment experience.
Bonus Tip: If you’re reading this, you’re already halfway to building your automated blog. Go ahead, embrace the laziness, and let the tools do the work.